Wondering how to panel a wall? Luckily, it’s super easy – when you know how. Here, we’ll talk you through the six main steps to follow.
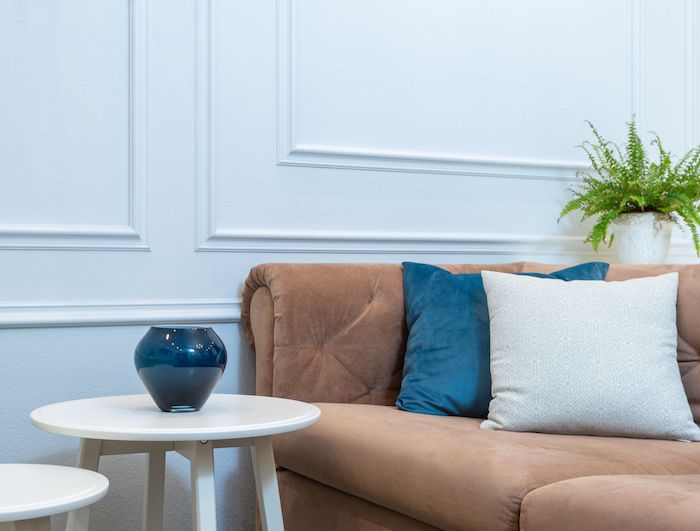
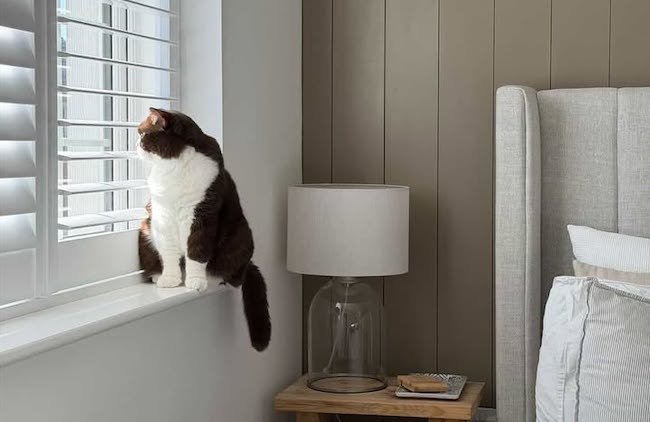
From traditional shaker styles to more modern slats, wall panelling is the perfect way to introduce rich textures and patterns to each room.
While panels can vary in style and materials, the steps to add them to walls are generally pretty similar.
We’ve broken down how to panel a wall in six key stages, so you can confidently decorate your home with new wall panels. Whether you want to panel an entire wall, a whole room or even multiple rooms, these steps will help to simplify the process for you.
Installing wood and MDF panels on walls
Step 1: Plan your panelling design
To create beautiful, professional looking planning, thorough preparation is essential.
Of course, the first step is to decide which rooms to panel. But you also need to think about the styles that best suit your home’s interior design
There are several types of panelling available, such as shaker style, wainscot kits, and tongue and groove panels.
One factor to consider is whether the walls you’re panelling are in high-traffic areas, such as staircases and hallways. If so, wainscot panelling may help to protect the walls from scuffs.
Looking for more inspiration? Visit our Instagram or see our list of the top wall panel designs.
Step 2: Measure the walls carefully
Once you’ve decided on the style and location of your new wall panels, it’s time to measure up.
Use a tape measure to check the wall’s width and height, from wall to wall and skirting board to ceiling. If you’re decorating multiple walls, note the measurements for each one, just in case there are any variations.
Double check the measurements, just to be sure. Panelling needs complete accuracy for a professional finish.
Unsure exactly how many panels you need? Try our wall panelling kit creator. All you need to do is enter your measurements and you’ll receive an instant quote.
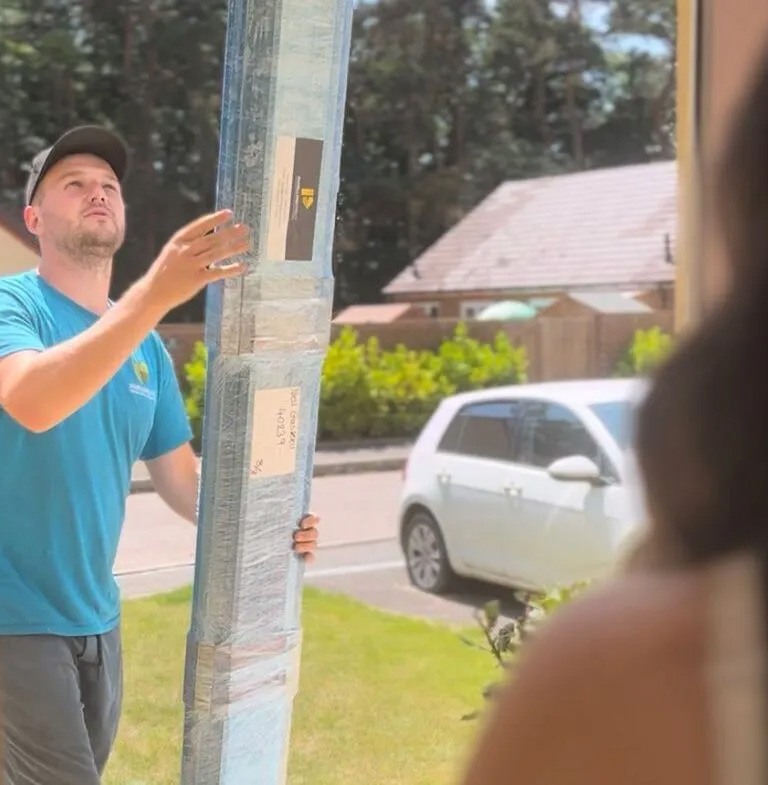
After you’ve placed your order, we’ll create your bespoke kit, including all the wall panels you need. You’ll even receive your panels pre-primed, ready for you to install and paint.
Step 3: Prepare your walls for panelling
To get an even finish, it’s vital to prep your walls. Don’t miss this step!
Before applying any panels, sand down the walls using sandpaper or an electric sander. The aim is to make each wall smooth to the touch. This way, the panels should look neater once installed.
Remember to wear PPE, such as eye protection and ventilation masks.
And, for particularly uneven walls (which is common in older properties) consider using panelling backboards. These create a flat surface, making it much easier to secure wall panels.
Step 4: Install your panels to the wall
Now for the exciting part: the installation.
If you’re using a backboard, apply this to your wall first.
Next, measure the walls and lightly mark where you need to place the panels. A spirit level/laser level is useful at this stage to check that each panel is perfectly straight.
When installing then, start with vertical panels before moving onto the horizontal panels. This helps to ensure they’re all neatly arranged from the floor all the way to the ceiling.
Again, we suggest using a laser level to double check every panel is straight. And to secure the panelling to the walls, try No More Nails adhesive glue. Remember to press firmly to make sure they stick.
Depending on the type of panelling you choose, there can be variations in how to secure the different panels together. For example, tongue and groove panelling with fit together snugly, while board and batten style will consist of alternating wide and narrow boards.
If you have any questions about installing a specific type of panelling, feel free to get in contact with us for further advice.
Step 5: Use caulk to neaten the look
When the adhesive has fully dried, you then just need to complete the finishing touches.
Decorators caulk is great for filling in any gaps. Once dry, sand the caulk down to smooth out any bumps. This step is easy to forget, but skipping it risks having an unprofessional finish, so we do suggest factoring it into your wall panelling installation.
If you use one of our wall panelling kits, your panels will come ready primed. So, you’ll be ready to complete the look with the last stage: painting the panels.
Step 6: Paint the wall panelling
With the panels neatly applied on the wall, all that’s left is to paint them.
With MDF, in particular, this step is super easy. MDF has a smooth finish, so the paint should look really neat and smooth over the top.
The result? A beautifully panelled wall, with minimal effort.
Watch the video below for a step-by-step tutorial. And if you’re ready to get started, check out our full range of decorative wall panelling sheets.