All panels cut to size, sanded & primed
If you’re unsure of your design, speak to our experienced staff.
No MDF backboards are supplied with kits — please contact us to add.
Cut to size made to measure wall panels - Wall Panelling Creator
SKU: 0060921
FREE DELIVERY to Mainland UK Excl. Highlands
Sample available, click here to order.

 available at checkout
Use this tool to get an instant visualisation and quote for your required wall panelling, perfect for home DIYers and tradespeople alike.
Installing your wall panelling kits
We provide all the pieces noted upon delivery to guide you.
Step 1
Mark up your wall using a pencil mark where the panels will be secured.
Step 2
Apply adhesive to your walls and panels (we advise you start with top and bottom rails first).
Step 3
Stick your panels to your wall
Step 4
Use a spirit level to align your panelling (follow our visual guide)
Step 5
Fill any gaps between panels, then caulk around your edges with an application tool.
Step 6
Let it dry.
Step 7
Sand any unwanted caulk, adhesive or MDF for a smooth finish.
Step 8
Apply your primer (we suggest using an all-in-one undercoat and MDF primer)
Step 9
Paint your MDF panelling in your desired colour.
MDF wall panelling details
Here is our simple and effective wall panelling creator tool. All you need to do is input your wall dimensions and we cut it to size for you. This helps to save you time, removing the need for you to cut them down to size yourself at home, while ensuring you can achieve a high-end look.
Wall panelling costs vary depending on size. So, by receiving your panels with the correct dimensions, it allows you to only pay for the MDF panelling you need. As such, unlike standard panels, you shouldn't need to cut them down at home and waste any of them.
As it’s customisable, you can choose the panel sizes to suit your DIY plans, as well as the number of rows and columns.
For example, if you’re looking for half-height panelling in a traditional wainscoting style, work out the height you’d need and choose 1 row, then input the width and number of columns you’d like. The same applies to full-height shaker style panelling, which is great for defining large, open rooms – just work out the measurements and get the panels cut to size with this tool.
Given that the panels are made to measure, you can achieve professional aesthetics with accurate spacing.
We offer a professional priming service you can add at checkout. When panels are pre-primed, they’ll be ready to paint when you receive them. MDF has a smooth texture that can be easily painted to match your room's decor.
The kit uses Moisture Resistant MDF panels, so it’s suitable for high humidity areas like bathrooms and kitchens.
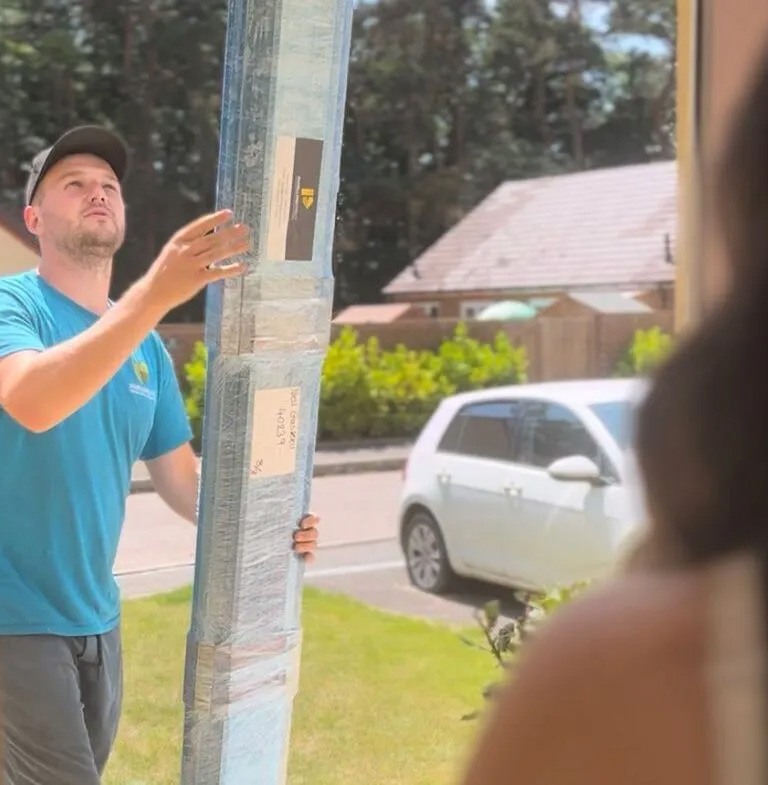
And, once ordered, we’ll deliver to your door on the requested day.

Design your wall panelling products with our creator tool
Enter the exact dimensions of your wall for instant prices.
We offer competitive panelling kits and affordable priming services and will beat any online wall panelling price.
This kit is perfect for creating Edwardian and Victorian style panelling to your own design, as well as Shaker style which is known for its clean lines and symmetry.
Panelling Direct Kits on social media
Description
What you’ll receive (cut to size):
- Top and bottom panels
- Horizontal panel strips (if required)
- Vertical panels
Transform any wall, room or space with our wall panelling kit. It helps you to add character and style to your home, bringing your interior design dreams to life.
You can add the colour, layout and style of your choice.
If you can imagine a perfect space or room, we can help create it.
For example, you could personalise your room with light from a nearby window facing your panelling.
Examples of kit uses
- Bedroom wall panels
- Hallways panelling
- Decorative wall panels
- Bathrooms panelling
- Kitchen panelling
- Slat wall panelling
- Wood wall panelling
Looking for DIY installation tips? We have a walk through below, with tips on the equipment you could need for your project.
Installing your wall panelling kits
We provide all the pieces noted upon delivery to guide you.
Step 1: Mark up your wall using a pencil mark where the panels will be secured.
Step 2: Apply adhesive to your walls and panels (we advise you start with top and bottom rails first).
Step 3: Stick your panels to your wall
Step 4: Use a spirit level to align your panelling (follow our visual guide)
Step 5: Fill any gaps between panels, then caulk around your edges with an application tool.
Step 6: Let it dry.
Step 7: Sand any unwanted caulk, adhesive or MDF for a smooth finish.
Step 8: Apply your primer (we suggest using an all-in-one undercoat and MDF primer)
Step 8: Paint your MDF panelling in your desired colour.