Nursery Wall Panelling
Looking for a decorative feature to complete your little one’s room? Panelling is a wonderful way to enhance a baby’s bedroom, adding charm and character to the space. To get started, explore the collection of our favourite types of nursery wall panelling below.

-
-

-
-

-
-
SALE
 ADD TO CART
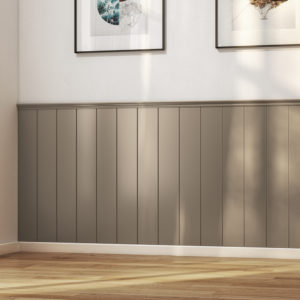
Farmhouse Shiplap panelling kit 2m x 1.2m T&G (MR)
Original price was: £176.40.£144.00Current price is: £144.00. -
SALE

-

-

-
 SELECT OPTIONS
The Wainscoting Wall Panelling Kits
From £144.00 -
SALE

-
SALE
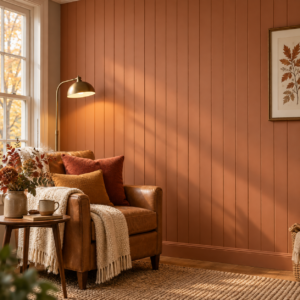
Choosing beautiful nursery panelling
Nursery decor is such a special part of a home DIY project. Ahead of your baby's arrival, it's lovely to take some time planning each aspect of their new room, from the style and design to the colours.
Maybe you're hoping to create a contemporary feature wall, which brings together both panelling and gorgeous wallpapering? Or maybe you want a simple but cosy panel design that extends around the entire room? Either way, we've included products on this page that will help you turn your vision into a reality.
While the overall look of the room is obviously very important, so too is the practicality of the design.
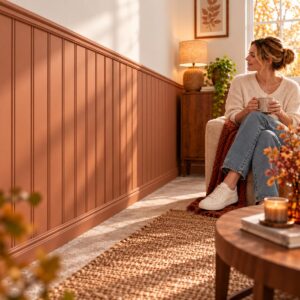
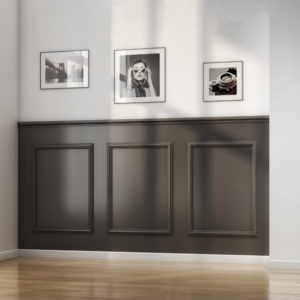
One panelling style to consider is wainscoting. This covers the lower part of a wall to help protect it from scuffs (which will come in useful once your child starts playing with toys!). It also happens to look very sleek and timeless, and will remain a great feature when the nursery transitions into a toddler's room. You can simply repaint the panels later on to adapt them to your child's changing tastes.
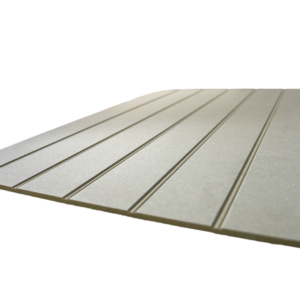
Another popular style is bead and butt panelling to create the feel of a warm, farmhouse-style space. It's understated, but especially once painted, really helps to bring a child's room together.
MDF panels are generally easy to keep clean. While you should avoid getting them wet, you can dust or clean them with a damp cloth.
It can be a super busy time getting a nursery ready, so to save time, it's worth thinking about cut-to-size panelling kits. These will ensure they arrive in the perfect size, avoiding the need for you to cut them down yourself at home.
You can also buy panelling pre-primed so they'll arrive ready for painting.
Installing your nursery wall panelling
The first step to professional-looking panelling is to measure your walls accurately. Attention to detail is key at this stage! Check and double check your measurements before buying the wall panels to make sure they will all fit perfectly.
You'll also need a spirit level to check each panel is completely straight before installation.
Then, when you're ready, you can install them to your walls using adhesive.
Once the adhesive is dry, leave it a day or two to make sure it's completely dry, before painting the panelling. This is the part where you can really personalise it, adding in your choice of colours.
MDF panelling has a smooth surface, so it should be much easier to paint them than a textured wall.
You could potentially colour drench the panels. Or, if you're hoping to introduce more patterns into the room, you could even paint the panels in stripes. As the panelling is so easy to customise, you can let your creativity and inspiration soar.
To discuss your nursery panelling ideas in more detail, feel free to get in touch with our friendly team.